Why workflow separates growing contractors from busy ones
There is a difference between being busy and being productive. A busy contractor runs from job to job, putting out fires, working nights and weekends, and wondering why the bank account does not reflect the effort. A productive contractor has systems. Leads follow a predictable path from inquiry to estimate to contract. Projects move through defined stages with clear handoffs. The business runs even when the owner is not in the room.
Workflow is the sequence of steps that turns a lead into a completed project. Every contractor has a workflow — the question is whether it is intentional or accidental. An intentional workflow is documented, repeatable, and continuously improved. An accidental workflow is whatever happens each time. The difference in efficiency between the two is often 30 to 50 percent.
Building a workflow that scales means designing each stage of your business so that adding more projects does not require adding proportional amounts of your personal time. It means standardizing the repetitive parts of your operation so your brainpower is reserved for the decisions only you can make: pricing strategy, client relationships, and business growth.
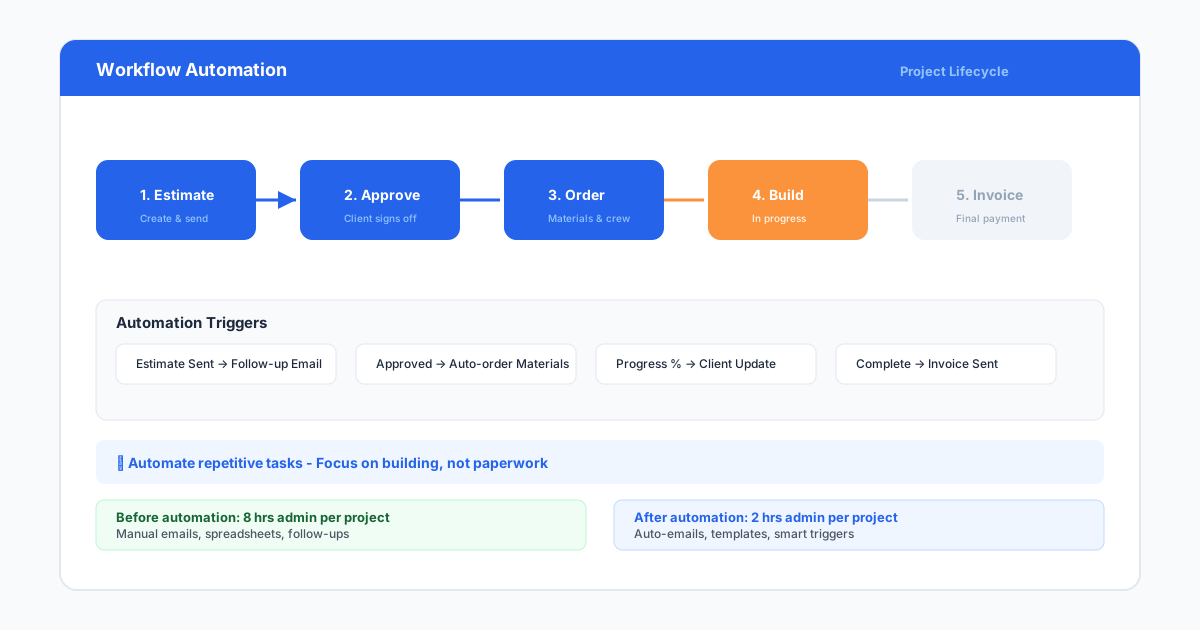
An intentional workflow turns a chaotic business into a predictable operation.
Stage 1: Lead management — capture every opportunity
The workflow starts the moment a potential client reaches out. Whether it is a phone call, an email, a website form, or a referral, the lead needs a predictable path. Without one, leads fall through the cracks. A client calls, you are on another job, you mean to call back, and three days later you find the voicemail you forgot to return.
Set up a lead capture system that records every inquiry in one place. A simple CRM — even a spreadsheet — is better than sticky notes and memory. Record the lead's name, contact information, project type, source (referral, website, ad), and status. Check the system every day and follow up on new leads within 24 hours.
Qualify leads early to avoid wasting time on projects that are not a good fit. Ask about budget, timeline, scope, and decision-making process. A lead with a $10,000 budget who needs a $30,000 renovation is not a lead worth pursuing. A lead who is 'just getting ideas' and has no timeline may not be ready to buy. Spend your time on leads that can actually become projects.
Track your lead sources to know where your best clients come from. If 60 percent of your closed projects come from referrals, invest more in referral relationships. If website leads close at half the rate of referral leads, adjust your website messaging or your follow-up process. Data drives better marketing decisions.
Respond to every lead, even the ones you cannot help. A quick referral to another contractor takes two minutes and builds goodwill. That homeowner will remember you when their neighbor needs the kind of work you do.
- Record every lead in a central system, not on sticky notes
- Follow up on new leads within 24 hours
- Qualify leads early to avoid wasting time on poor-fit projects
- Track lead sources to optimize your marketing spend
- Respond to every lead, even if you refer them elsewhere
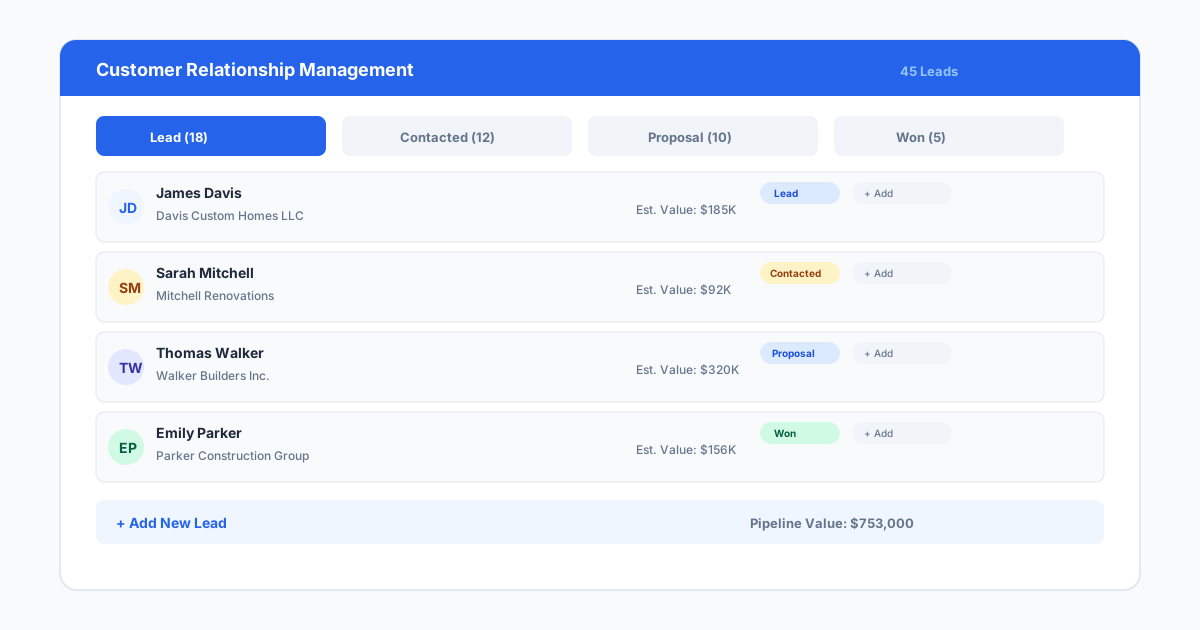
A lead management system ensures no opportunity falls through the cracks.
Stage 2: Estimating and proposals — standardize your process
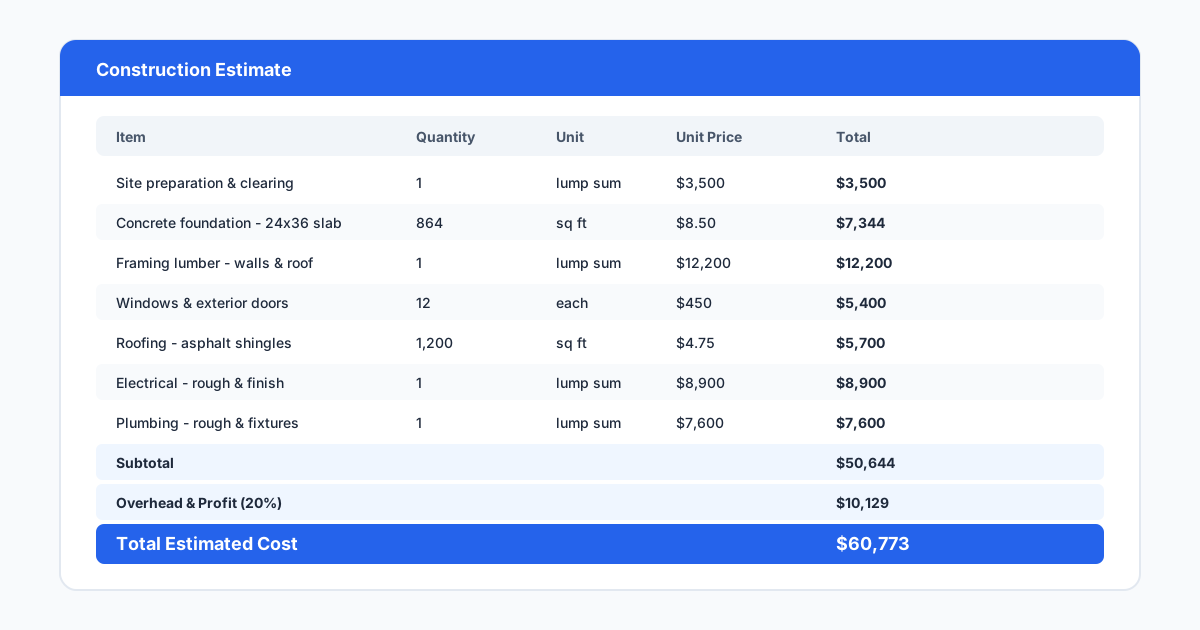
The estimating stage is where most contractors lose efficiency. Every estimate starts from scratch, pricing is inconsistent, proposals take too long, and the process varies depending on who writes the bid. Standardizing this stage is the highest-leverage improvement most contractors can make.
Create a standard estimating checklist that you use for every project, regardless of size. The checklist should include: scope review, site visit or measurements, material takeoff, labor estimate, overhead and profit calculation, and proposal formatting. A checklist reduces the chance of missing a cost and makes the estimate consistent across projects.
Use estimating templates for the project types you do most often. A deck template with standard material quantities, labor hours, and markup percentages saves thirty minutes per estimate. Multiply that by fifty estimates a year, and the template saves twenty-five hours. More importantly, it reduces errors and produces more consistent pricing.
Build a proposal template that includes your company information, scope summary, schedule, terms and conditions, and signature lines. Fill in the project-specific details from your estimate. A template ensures every proposal is professional and complete, and it cuts the time from estimate to proposal delivery in half.
Set a target turnaround time for proposals. If you tell the client you will have the estimate by Friday, have it by Friday. Reliability in the sales process signals reliability in the construction process. A contractor who delivers proposals late is assumed to deliver projects late.
- Use a standard estimating checklist for every project
- Create templates for your most common project types
- Build a professional proposal template with all standard sections
- Set and meet proposal turnaround targets
- Review and update templates quarterly based on actual job costs
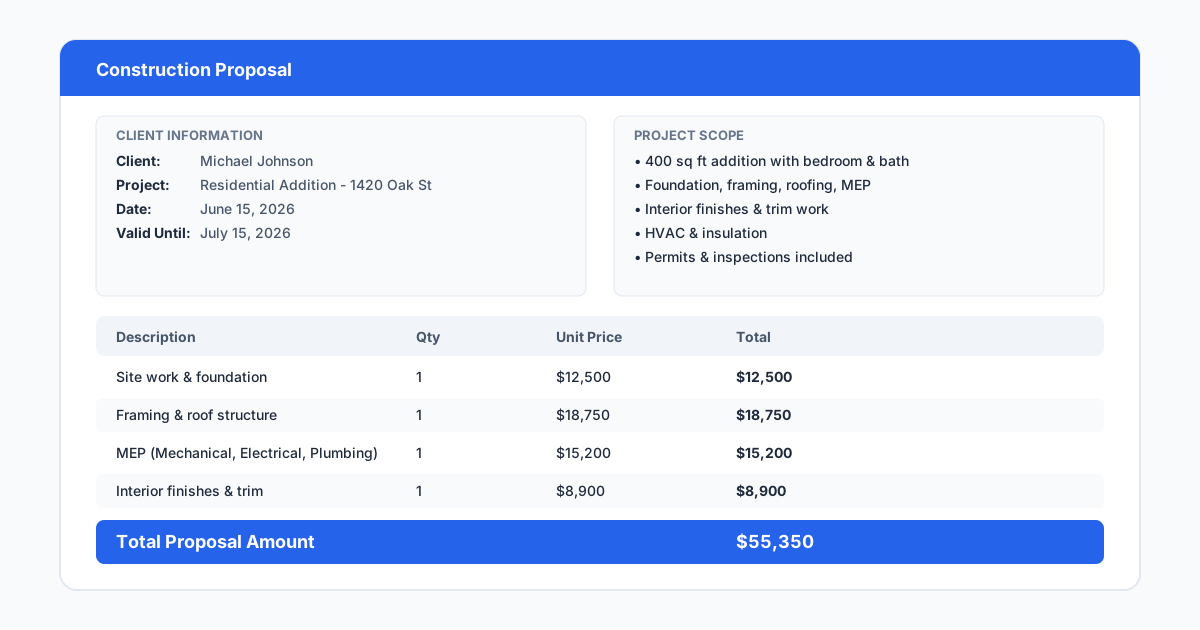
Standardized estimating and proposal templates save time and improve consistency.
Stage 3: Project kickoff — set the tone for success
The transition from sold project to active construction is where the workflow often breaks. The sales conversation established one set of expectations, and the construction team — even if it is just you — operates from a different set. A formal kickoff process bridges that gap and prevents misunderstandings that cause friction later.
Start every project with a kickoff meeting or call. Review the scope, schedule, budget, change order process, communication preferences, and key contacts. The kickoff should include you, the client, and any key subcontractors or crew leads. A thirty-minute kickoff prevents hours of confusion during construction.
Prepare a project kickoff document that summarizes everything the client needs to know: project timeline, work hours, site rules, payment schedule, change order process, and emergency contact information. Send it to the client after the kickoff meeting so they have a written reference.
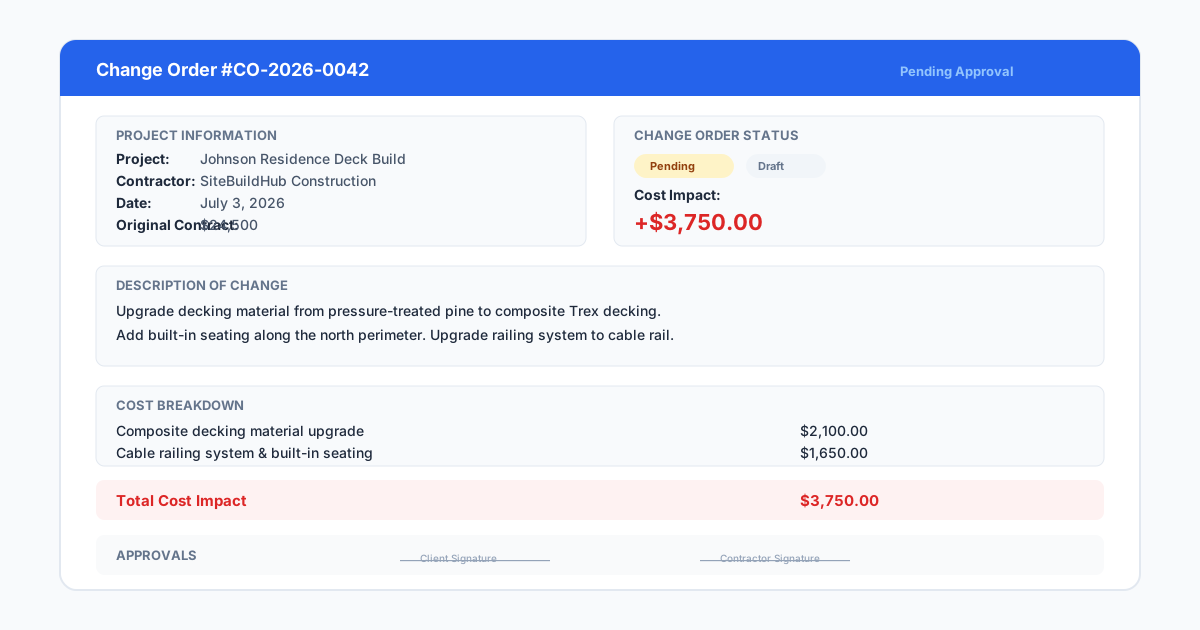
Set up the project in your management system with the scope, budget, and schedule from the contract. This is the moment the estimate becomes the project baseline. Any deviation from this baseline during construction becomes a change order, which is easier to manage when the baseline is clearly established on day one.
Introduce the crew to the client if possible. A personal introduction creates a human connection that makes communication easier throughout the project. The client who knows the crew by name is more likely to raise concerns directly rather than letting them fester.
- Hold a kickoff meeting on every project before work starts
- Provide a written project kickoff document to the client
- Set up the project in your management system with contract baseline
- Introduce the crew to the client personally
- Establish communication protocols and change order processes upfront
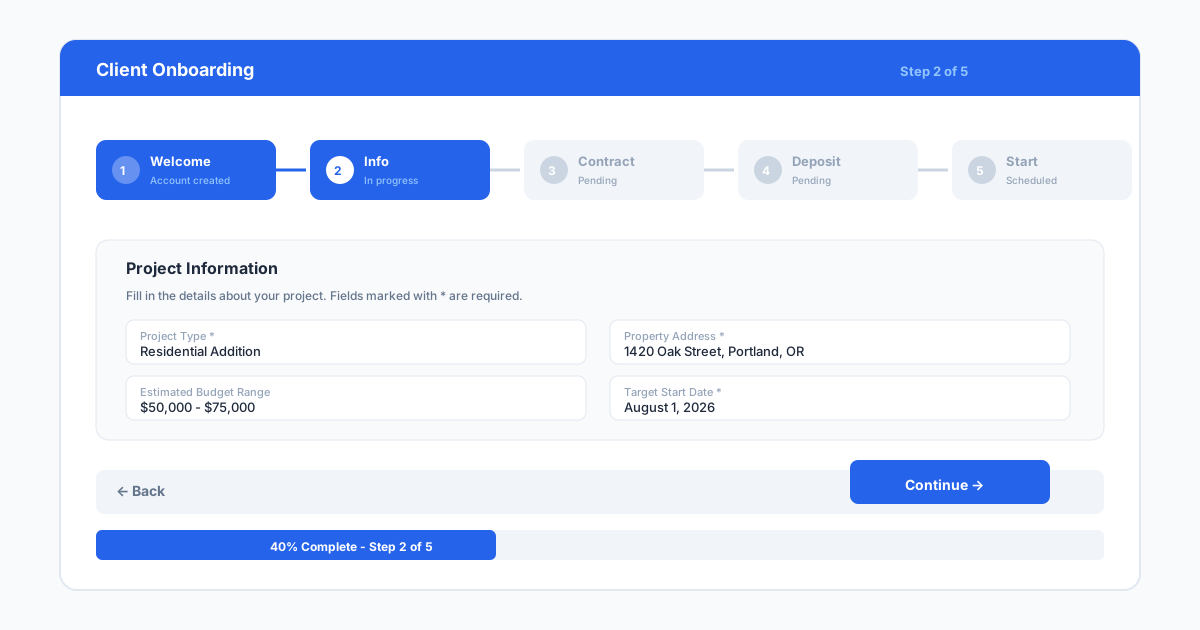
A thorough kickoff sets clear expectations and prevents costly misunderstandings.
Stage 4: Construction and field management — execute the plan
During construction, the workflow shifts from planning to execution. The systems that worked in the office need to work in the field, where conditions are unpredictable and time is compressed. Field management is about maintaining visibility into progress, cost, and quality while the work is happening, not after.
Start each day with a brief crew huddle. Review the day's tasks, confirm material availability, identify any issues from the previous day, and clarify priorities. A ten-minute huddle saves an hour of confusion. It also gives the crew a chance to raise concerns before they become problems.
Track labor hours and material usage against the estimate as the project progresses. A weekly cost check — compare actual hours and material costs to the estimate — tells you whether you are on track to hit your margin. If labor is 30 percent over halfway through the project, you need to adjust before the second half repeats the pattern.
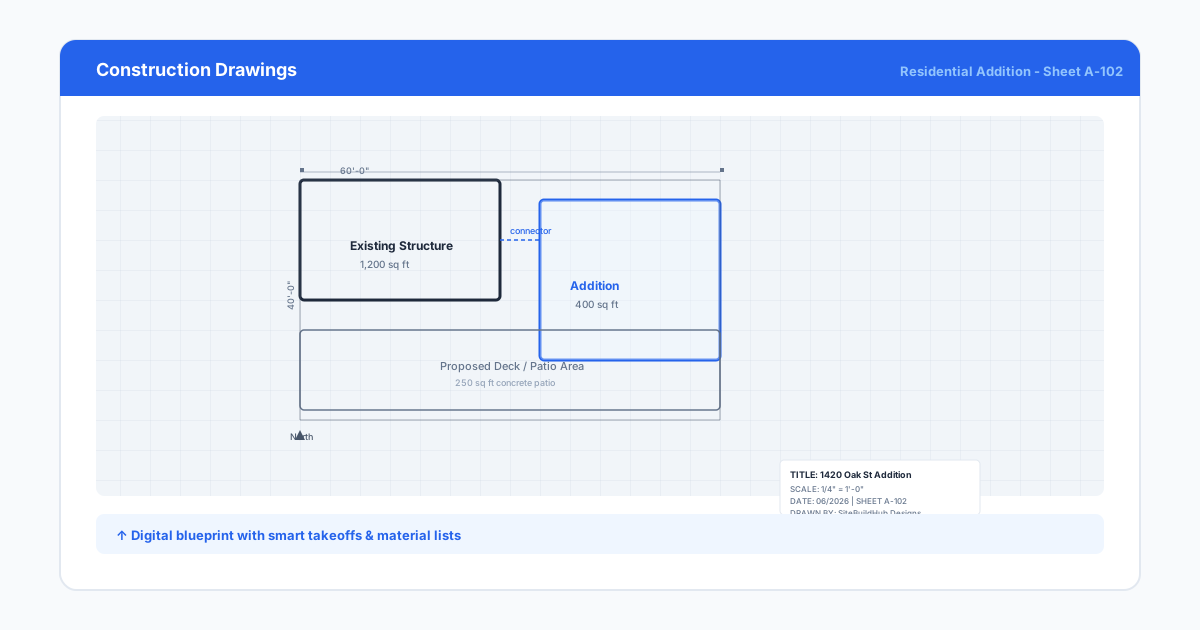
Document progress with photos at key milestones. Photos serve multiple purposes: they provide marketing content, documentation for change orders, evidence for disputes, and a record for warranty work. Take photos before walls are closed, before trenches are backfilled, and at substantial completion. Date-stamp and file them in the project folder.
Communicate with the client proactively. Send a brief weekly update: what was accomplished, what is planned for next week, and any issues or changes. A client who hears from you regularly is less likely to call with anxious questions and more likely to be understanding when unexpected issues arise.
- Hold daily crew huddles to set priorities and identify issues
- Track labor and material costs against the estimate weekly
- Document progress with dates photos at key milestones
- Send weekly client updates with progress and upcoming work
- Address issues immediately — small problems grow fast in construction
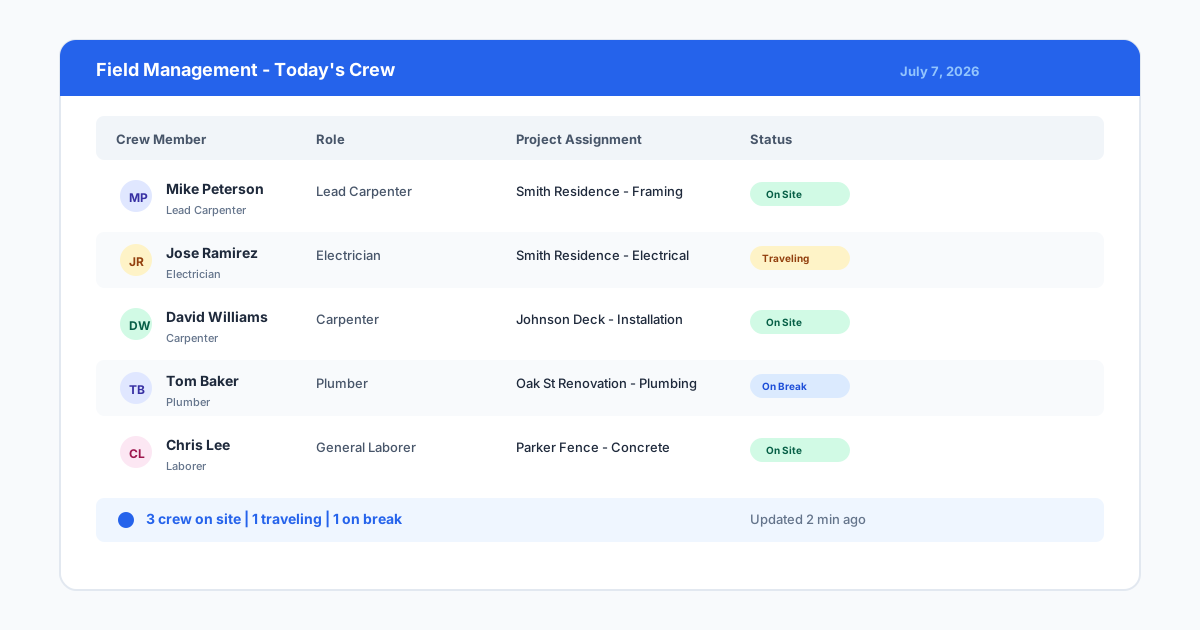
Field management systems keep projects on schedule and on budget.
Stage 5: Closeout and follow-up — finish strong and build repeat business
The closeout stage is the most neglected part of the contractor workflow. Once the work is done, the instinct is to get paid and move to the next job. But a strong closeout process creates referrals, reduces warranty calls, and builds the foundation for repeat business. The last impression you leave is as important as the first.
Create a project closeout checklist that includes: final inspection, punch list completion, client walkthrough, final invoice, lien waivers, warranty documentation, and as-built records. Walk through each item systematically. A client walkthrough where you demonstrate that everything works — doors close, faucets run, switches work — reduces the calls that come a week later asking about things that were missed.
Deliver a closeout package to the client that includes warranty information, maintenance instructions for finishes and equipment, contact information for service requests, and a thank-you note. The closeout package turns a finished project into a lasting relationship. It also sets clear expectations for what is and is not covered by warranty.
Ask for the review and the referral at closeout. The moment the client sees the finished project is the moment they are most likely to appreciate your work. Ask them to leave a review on Google or your preferred platform. Ask if they know anyone who needs similar work. Most clients are happy to refer a contractor who delivered a great experience.
Follow up with the client 30 days after completion and again at 12 months. A brief check-in — 'just seeing how everything is holding up' — builds long-term relationships and catches minor issues before they become warranty claims. The contractors who stay in touch with past clients are the ones who get called for the next project and referred to neighbors.
- Use a project closeout checklist for every completed job
- Conduct a final walkthrough with the client before final payment
- Deliver a closeout package with warranty and maintenance information
- Ask for reviews and referrals at the moment of greatest satisfaction
- Follow up at 30 days and 12 months to build long-term relationships
A professional closeout process turns a finished project into a source of referrals.
Tools to support each stage of your workflow
The right tools make your workflow easier to execute and easier to scale. The wrong tools add complexity without solving the underlying problem. When evaluating tools for your workflow, start with the process and then find the tool that supports it — not the other way around.
For lead management, a CRM like HubSpot, JobNimbus, or a simple Google Sheets tracker works depending on your volume. The key is a system that captures leads, tracks follow-ups, and records the source. If you manage more than ten leads per month, a dedicated CRM saves time and reduces missed opportunities.
For estimating and proposals, tools like SiteBuildHub, BuildBook, or Estimate Rocket help standardize your pricing, create professional proposals, and track your bid pipeline. The ideal tool produces an estimate and a proposal in a single workflow, so you are not entering the same data twice.
For project management, tools like SiteBuildHub, Procore, CoConstruct, or BuilderTrend provide scheduling, cost tracking, document management, and client communication in one platform. For smaller contractors, simpler tools like Trello or Asana with a project checklist template may be sufficient.
For field management, consider tools that work offline and sync later, since job sites often have limited connectivity. Time tracking apps like TSheets or QuickBooks Time let crews log hours from their phones. Photo documentation apps organize progress photos automatically.
The most important tool decision is not which individual tool you choose — it is whether your tools integrate with each other. A CRM that does not talk to your estimating tool creates duplicate data entry. A project management tool that does not sync with your accounting software creates reconciliation work. Look for tools with native integrations or use an integration platform like Zapier to connect them.
- Start with the process, then choose the tool that supports it
- Use a CRM for lead management if you handle more than 10 leads per month
- Choose estimating tools that produce proposals in the same workflow
- Select project management tools appropriate for your project volume
- Prioritize tools that integrate with each other to reduce duplicate work
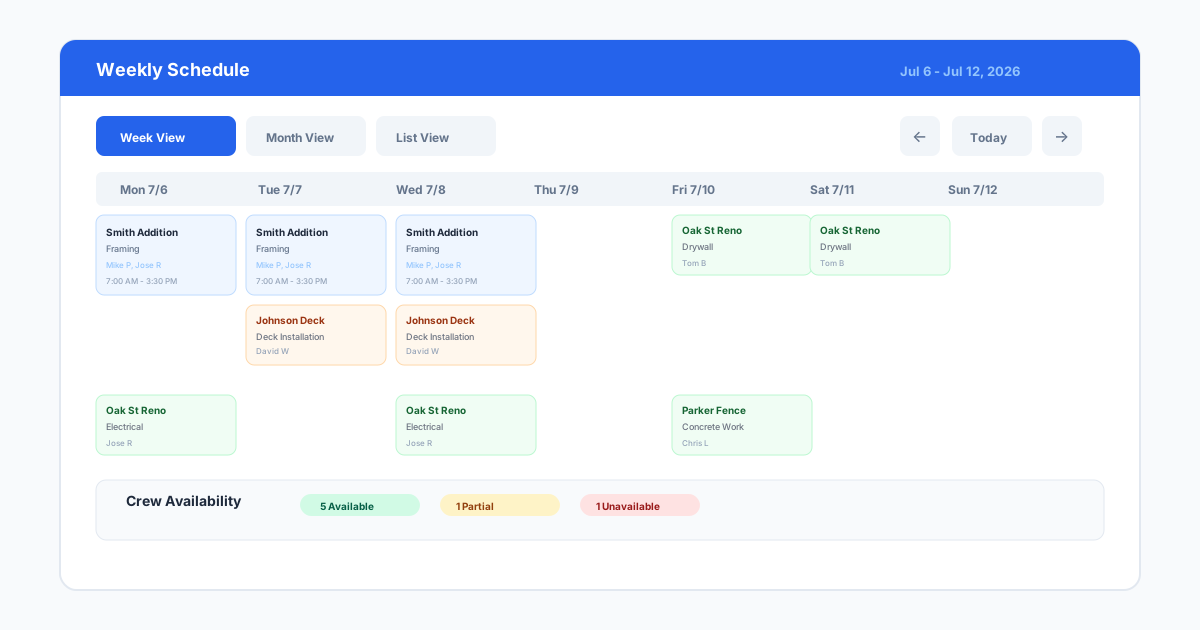
Integrated tools reduce duplicative work and keep your workflow connected from lead to closeout.